
The E-INFINITE Flexible phased array probe can inspect bent tubes with one to two lines of multiplexed coils for axial and transverse defects. This probe also has two standard axial coils that support your inspection.

Ultra-flexible plug-in sensor that offers a wide range of applications. The upper part attaches to different flexes designed with real spools. This sensor produces high-quality signals and better detection capabilities. These sensors are suitable for detecting surface corrosion, subsurface indications, and surface cracks.

This probe allows for one-pass inspection of defects in all directions using two additional coils angled in the probe body in addition to the conventional axial coils. This probe model is available with several options depending on your application.
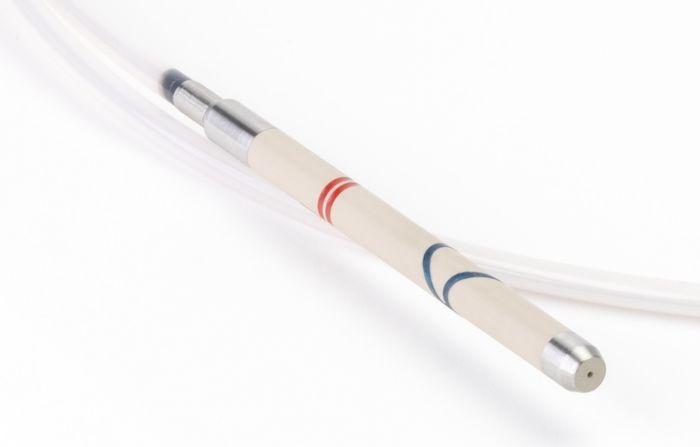
These probes have two axial coils for detecting longitudinal defects, and two cross-axis coils for detecting longitudinal and transverse defects.

These probes are designed for inspecting straight tubes. This type of probe may feature a PEEK plastic/stainless steel protective ring or front and rear guides, to extend its service life. They can be fitted with centring cones for improved centring in the tube. These probes are available with a sheath or a clip-connector.
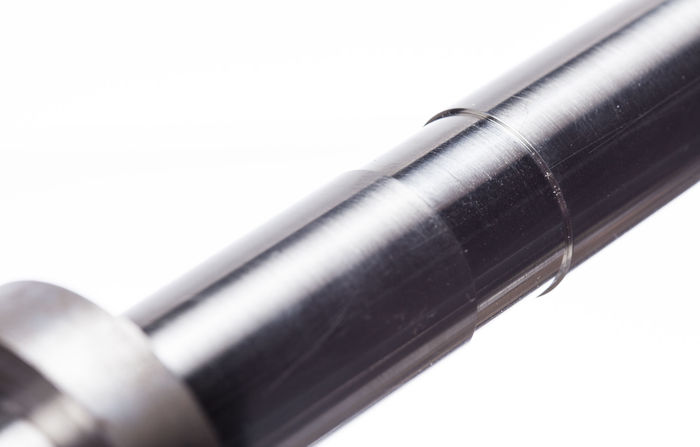
Tubes with side-drilled holes, flat-bottomed holes, internal and external grooves, and notches. Plate simulation.
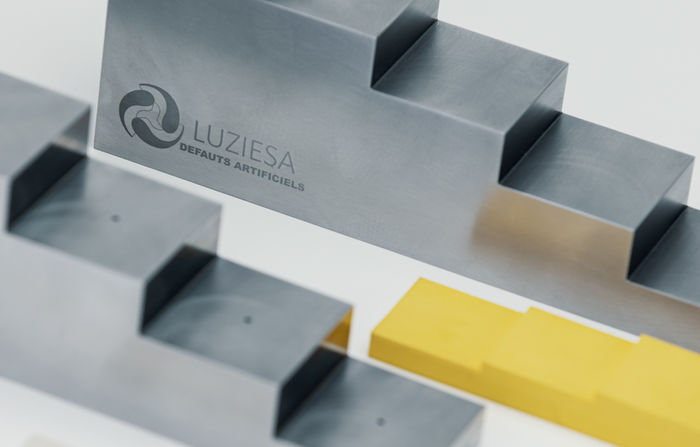
US calibration block, fully configurable to suit your requirements. The number of steps, step dimensions, number of artificial defects and defect dimensions can all be custom-specified. Flat-bottomed hole: Ø0.4mm or larger. Calibration notch: mouth width of 0.1mm or larger.

Our range of rigid probes starts at 9mm diameter. These probes are protected by a stainless steel jacket to considerably increase their lifespan. Both the CL and CP methods can be combined to inspect both the inside and outside of ferromagnetic tubes in a single pass.
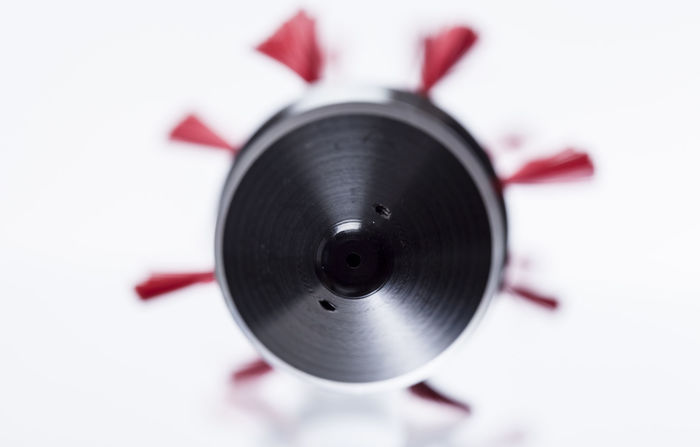
Our near field probes larger than 26mm in diameter are flexible, to facilitate inspection tasks. Each of the probe's constituent modules is centred by means of interchangeable brushes, and modules are interconnected by hollow shafts with a high tensile strength.

Our rigid probes are available in a range of diameters from 9mm to 26mm. These probes are protected by a stainless steel sleeve that considerably increases their service life.
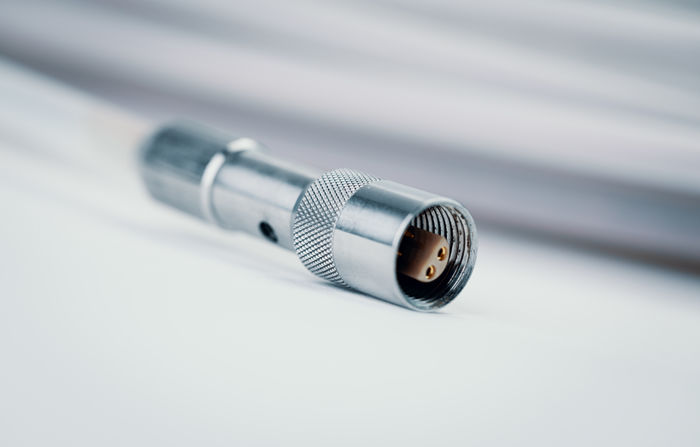
Our sheaths are available with M9 or M12 quick-connect fittings, depending on the diameter of the probe to be connected: 10mm ≤ Øprobe < 13mm: M9 connector / Øprobe ≥ 13mm: M12 connector
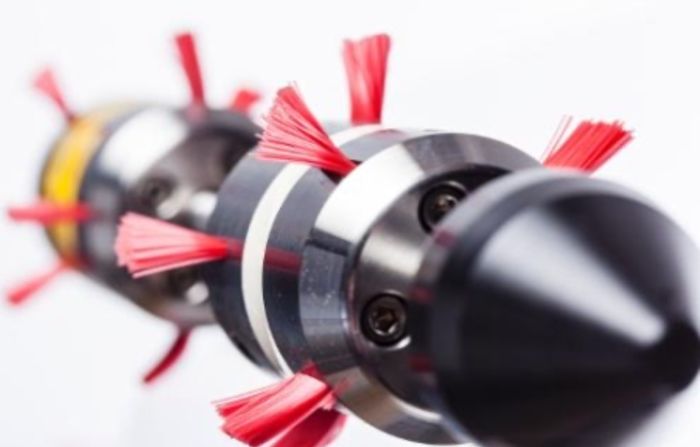
Our remote field probes larger than 26mm in diameter are flexible, to facilitate inspection tasks. Each of the probe's constituent modules is centred by means of interchangeable brushes, and modules are interconnected by hollow shafts with a high tensile strength.

This E-INFINITE Rigid phased array probe features a phased array module and 1 conventional "SAX" module for inspecting your tubes for axial and transverse defects. Our wide range of standard probes covers many applications.


