
The absolute contact sensor is used for manual crack control. It is also used on a fixed fixture in an automated control station.

This sensor can be used to inspect the rim profile for cracks in the spokes. It features two coils shaped to the rim.
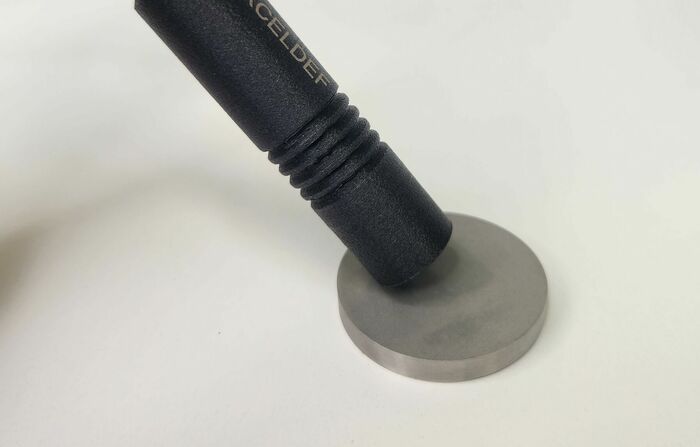
The conductivity probe is used to measure the electrical properties of a material in order to sort matter or to study the lifespan of a part that is heating up. This probe is also used to measure the thickness of a coating.

Le E-Spin est équipé d’une prise rapide compatible avec toutes les sondes rotatives. Il permet l’inspection de tous types d’alésages. Le boîtier est en aluminium anodisé bleu avec un interrupteur lumineux de déclenchement de rotation, une prise de connexion sur rallonge d’appareillage et un indicateur de défaut.

Ultra-flexible plug-in sensor that offers a wide range of applications. The upper part attaches to different flexes designed with real spools. This sensor produces high-quality signals and better detection capabilities. These sensors are suitable for detecting surface corrosion, subsurface indications, and surface cracks.

The E-PADDED sensor can be used to inspect complex geometries such as welds or aircraft wheels: its applications are very diverse. It is composed of 3 parts, the case, the support and the flex. The support can be either semi-rigid or foam. You can easily unhook the flex in order to change it or change the support. This sensor is ideal for crack mapping.

This sensor can be used to inspect the clean weld bead and the HAZ for cracks. Its orthogonal winding offers an alternative to penetrant testing. It is possible to add a bracket to ensure that the sensor is placed on the cord.

This probe allows for one-pass inspection of defects in all directions using two additional coils angled in the probe body in addition to the conventional axial coils. This probe model is available with several options depending on your application.
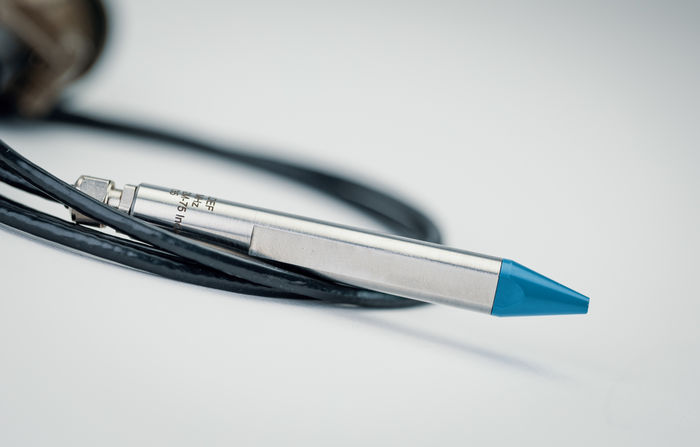
Our contact sensors, designed for manual crack inspection or static installation in an automatic inspection station, feature a stainless steel body and a PEEK measuring head, considerably enhancing their service life
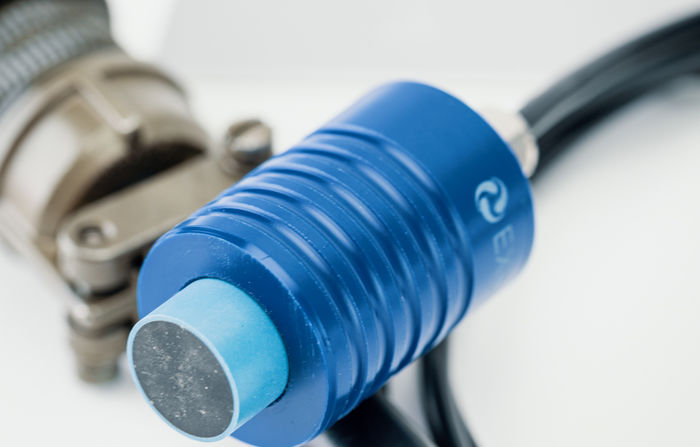
Spring-loaded sensors are the ideal choice for situations requiring a constant angle and pressure. These sensors are typically used for part sampling and for corrosion detection.
These probes feature a quick-connector, a lightweight plastic body and a reinforced measurement head operating in differential mode. Our probes attach quickly and easily to our driver gun, with extensions available in various lengths to suit your application.

Our SRD probes are equipped with FISCHER 4-pin quick connectors, and operate using the differential reflection principle. Rigid and flexible versions are available, with a stainless steel or PEEK plastic measuring head. Expanding, variable and spherical measuring heads can also be supplied, to suit the customer's requirements.
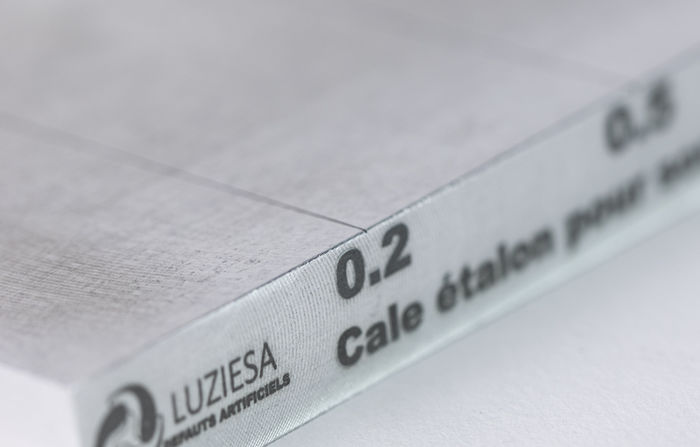
Calibration block featuring three 0.1 mm wide notches and depths of 0.2 mm, 0.5 mm and 1 mm. The constituent material is supplied and machined in our workshops.
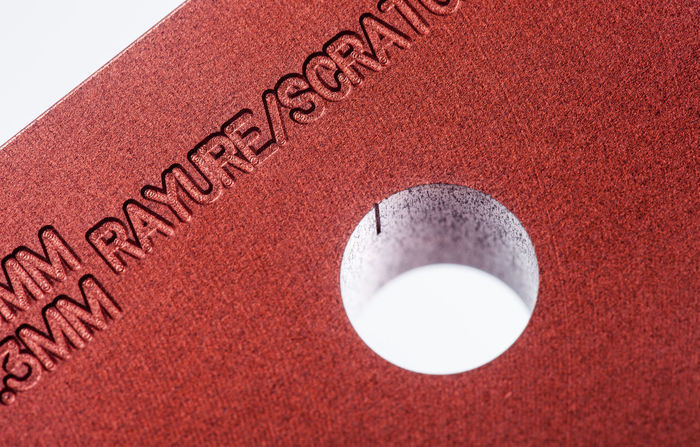
Diameter range: Ø3mm (H7) and up. Holes may also be machined straight, milled at 100°, or with a spherical mouth. Artificial defects: Rectangular notch, quadrant notch, vee-notch

The E-Spin features a quick-connect coupling compatible with all rotating probes. It facilitates the inspection of all types of drilled hole. The blue anodized aluminium casing is fitted with a rotation control switch (with status light), an instrument extension connector, and a fault indicator.
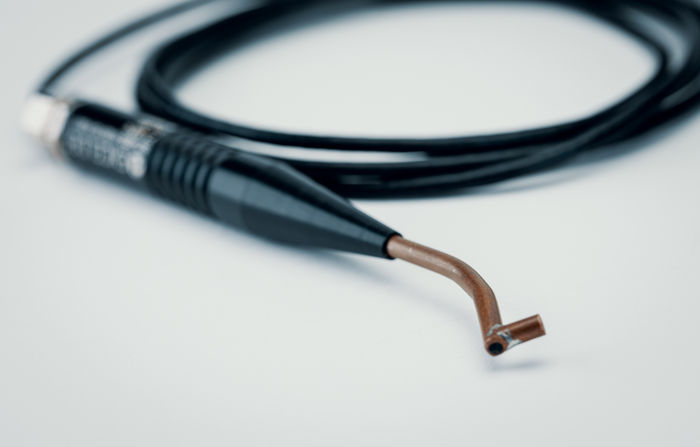
Twisted-stem surface sensors can be used to obtain an ergonomic working position, or to access hard-to-reach areas. This type of shielded sensor is characterised by small coils and a small-diameter casing designed for higher frequencies. They are most often used for detecting surface cracks.
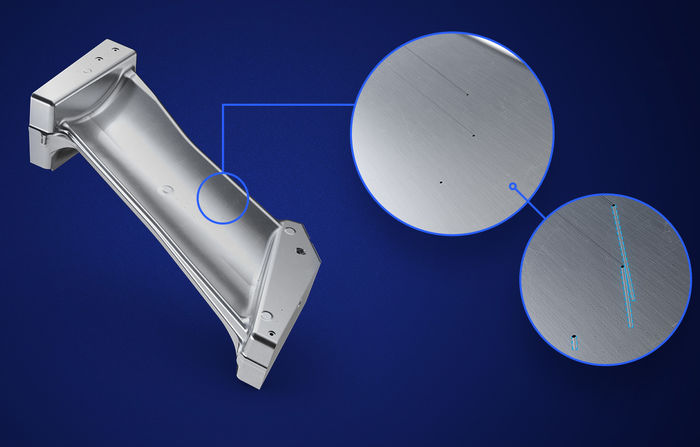
#01.Engineering
#02.Kick-off meeting
#03.Part inspection on reception
#04.Design and production of special tools for producing artificial defects
#05.Artificial defect formation (electrical discharge machined notches, flat-bottomed holes)
#06.Dimensional inspection of defects
#07.End-of-manufacturing report
#08.Acceptance
#09.Packaging and shipping
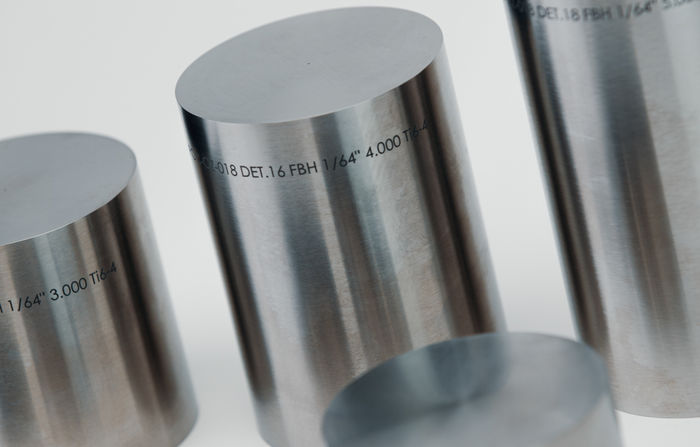
US calibration block featuring a Ø0.4mm, Ø0.8mm, Ø1.2mm, Ø1.6mm, Ø2mm or Ø3.2mm flat-bottomed hole. Ra ≤0.8µm (beam entry and exit). We can produce either the full set or custom products as required, in accordance with ASTM E127 requirements.


