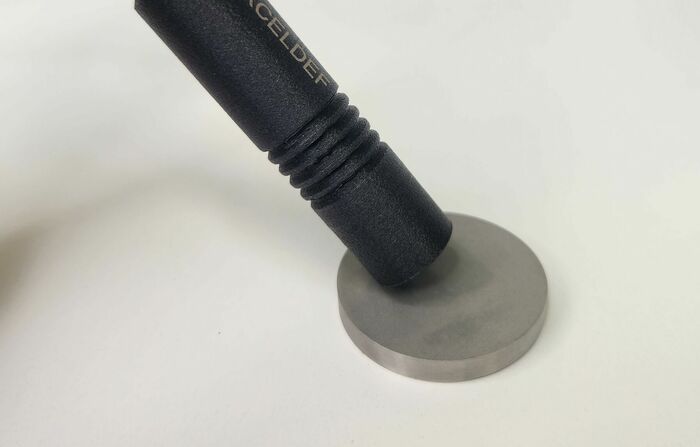
The conductivity probe is used to measure the electrical properties of a material in order to sort matter or to study the lifespan of a part that is heating up. This probe is also used to measure the thickness of a coating.
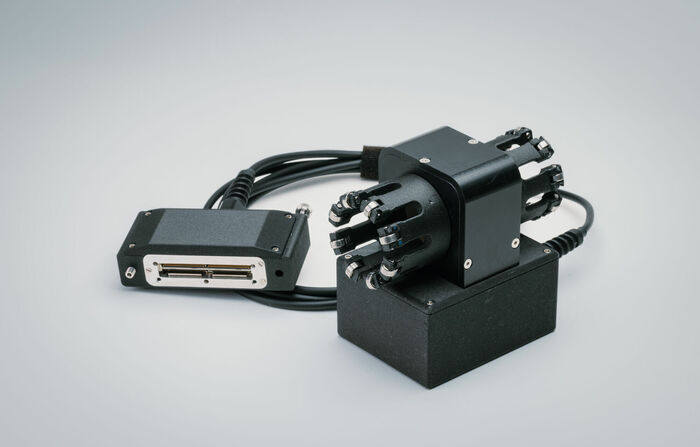
This E-QUARTER encircling phased array probe can detect defects in all directions for the inspection of bars, wires and tubes in production. The probe is made up of interchangeable coil quarters for easy maintenance. The two phased array lines make it easier to interpret signals, especially with the help of mapping. We are able to produce other phased array probes that meet specific profiles (ZETA bar, welds, etc.)
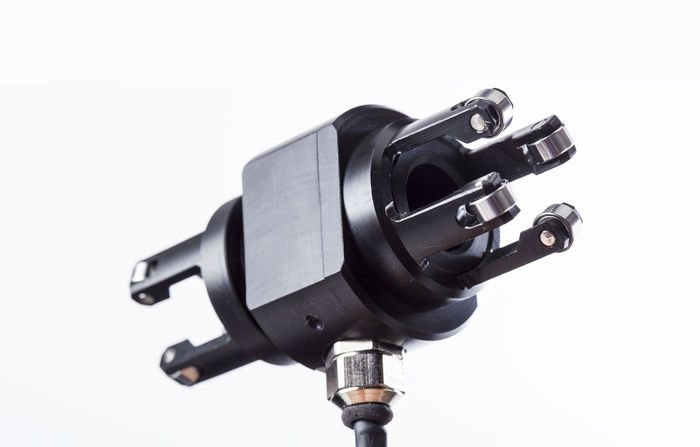
Our custom coils are designed to precisely address the user's requirements. Parameters such as their profile, frequency, wear resistance and ease of replacement are optimised to maximise customer satisfaction.
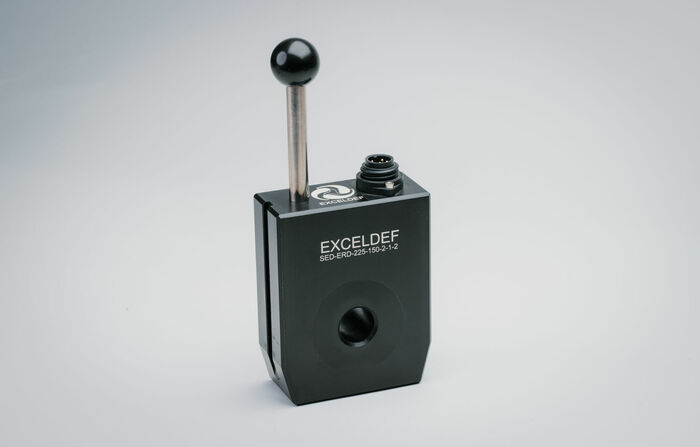
Our in-line testing coils for wires, bars and seamless or welded tubes are designed to be easily integrated into inspection chains with or without magnetisation systems. The coil features a differential circuit to ensure that transverse cracks are detectable, even at extremely high testing speeds.
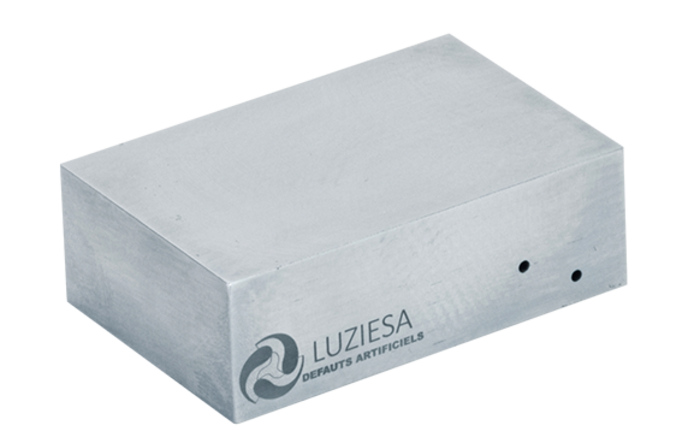
US calibration block compliant with ASTM E317 fig.1. Dimensions 76.2mmx50.8mmx25.4mm with one Ø1.2mm side-drilled hole.
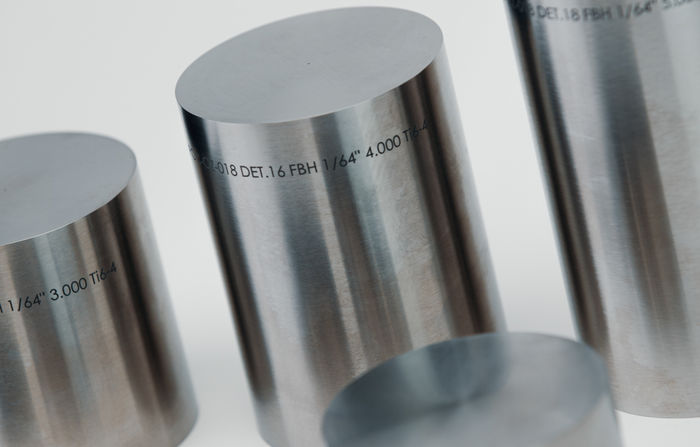
US calibration block featuring a Ø0.4mm, Ø0.8mm, Ø1.2mm, Ø1.6mm, Ø2mm or Ø3.2mm flat-bottomed hole. Ra ≤0.8µm (beam entry and exit). We can produce either the full set or custom products as required, in accordance with ASTM E127 requirements.


